Google Keep resembles Post-It Notes in all but name. And it's even more convenient because it's instantly available online, no matter where you are. But unlike its real-world counterpart, Google Keep doesn't give you any special markup or formatting features, like bulleted lists.
It turns out that yes, you can create lists in Google Keep. But you can do nested lists in Google Keep?
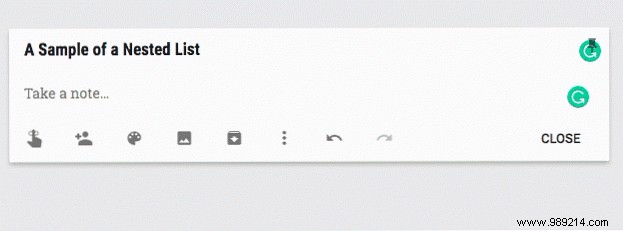
It's easy to create a bulleted list in Google Keep. Open a new note and type “*” to start a manual list. Press Enter to annotate the second item in the list, and so on. To create a nested list, you just need to indent the next item in the list. Google Keep remembers the exact position of the indentation.
Follow these steps:
The combined use of manual bullets and indentation to create a nested list also works in the Google Keep mobile apps. And if you decide it's too much effort, then the checkboxed lists are still there. But nested lists are a great way to break a linear process into smaller parts. Use this idea to put Google Keep to more creative uses. 10 Creative Ways To Use Google Keep Every Day 10 Creative Ways To Use Google Keep Every Day Google Keep is a simple note-taking app. But its simplicity hides its usefulness. Here are ten tips and ideas for using Google Keep for the little things in everyday life. Read more every day.